A contact form is a great way to offer your readers the ability to get in touch, without giving out your personal email address.
Each contact form can easily be customized to fit your needs. When a user submits your contact form, the feedback will be filtered through Akismet to make sure it’s not spam. Any legitimate feedback will then be emailed to you, and added to your feedback management area.
Add a new contact form
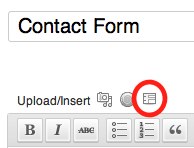
You can add contact forms to both posts and pages. Simply click the new “add contact form” media button.
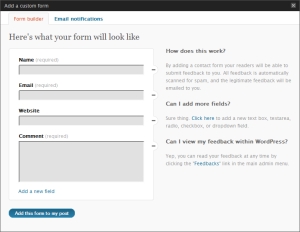
Doing so will bring up a screen where you can customize the fields that will be displayed on your contact form.
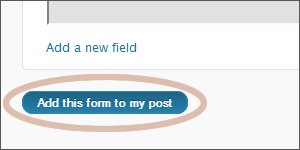
Once you are happy with your contact form, you’ll want to save it by clicking the blue “Add this form to my post” button.
Doing so will convert your form to shortcode which will be inserted into your post.
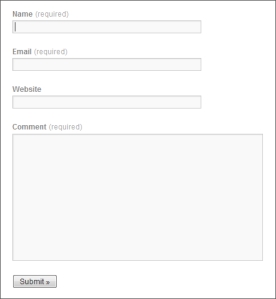
Once you publish your post, this shortcode will be transformed into a fully functional contact form.
Edit an existing contact form
To edit an existing contact form, simply click the small add contact form media icon after you’ve already saved a form. Your existing contact form will be loaded into the editor. Alternatively, you have the option ofediting the shortcode yourself instead of using the editor.
Add a field
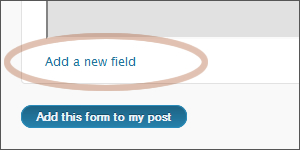
Adding additional fields to your contact field couldn’t be easier. Simply click the “Add a new field” link.
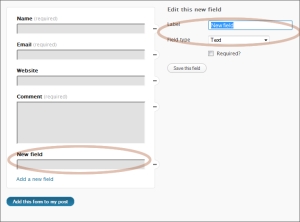
A new field will be added to the bottom of your form, and editing options will be added to the right column.
Label The label field is the description seen on the top of each field (i.e. Name, Email, Website, etc…)
Field Type The field type dropdown allows you to select the type of form element that you would like to use (i.e. textbox, dropdown, radio button, etc…).
Required Clicking the required checkbox will force users to fill out this field before they can submit your contact form. If they skip a required field, they’ll see an alert instructing them to fill out the field before they submit the form.
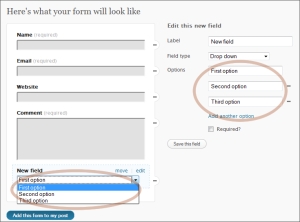
Options Should you select dropdown, or radio button as a field type, you will be presented with a fourth option that allows you to add select options.
Edit a field
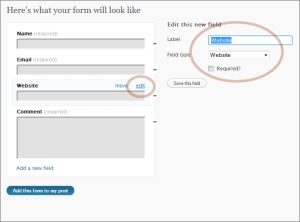
To edit a field, just move your mouse over the field you’d like to edit and click the “edit” link. Once you click this link, you’ll be able to edit the field on the right.
When you’re happy with your changes, click the gray “Save this field” button. Once you are done making changes to your form, click the blue “Add this form to my post” button.
Delete a field
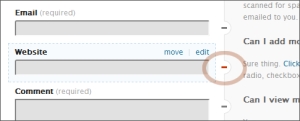
To delete a field you’ll want to click the negative sign next to any field.
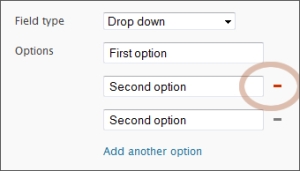
When working with dropdown or radio options, you can also delete options.
Reorder fields
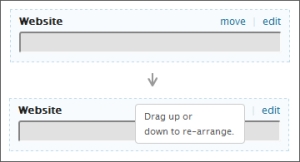
Want to reorganize your fields? No worries, just mouse over the field that you’d like to move. Move your mouse over the “move” link. You’ll see a box that says “Drag up or down to re-arrange”.
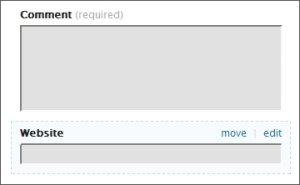
Click the “move” link and hold down your left mouse button while you drag the form field to the position you’d like it to be in.
Save your form, by clicking the blue “Add this form to my post” button and you are set.
Notification preferences
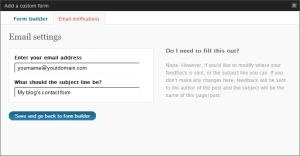
When a user submits your contact form, it will be emailed to the author of the post/page, and the subject line will be the title of your post. If you wish, you can change both the recipient and the email subject of your emails by clicking the “Email notifications” tab. Separate recipient emails with a comma to send to multiple recipients.
Feedback management
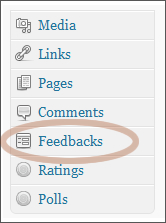
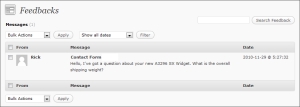
You can read all feedback sent through your contact form in your feedback management area. Just click the “Feedbacks” link in your left-hand menu.
You’ll be able to manage your feedback just like you’d manage comments.
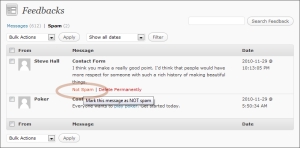
If legitimate feedback is marked as spam, you can click the “not spam” link.
Shortcode reference
Saving a default form will produce the following shortcode:
[contact-form]
[contact-field label="Name" type="name" required="true" /]
[contact-field label="Email" type="email" required="true" /]
[contact-field label="Website" type="url" /]
[contact-field label="Comment" type="textarea" required="true" /]
[/contact-form]
[contact-field label="Name" type="name" required="true" /]
[contact-field label="Email" type="email" required="true" /]
[contact-field label="Website" type="url" /]
[contact-field label="Comment" type="textarea" required="true" /]
[/contact-form]
Each contact form shortcode must start with [contact-form] and end with [/contact-form]
Fields can be added or removed from the shortcode manually. For instance, if you wished to remove the website textbox, you’d simple remove that line, like this:
[contact-form]
[contact-field label="Name" type="name" required="true" /]
[contact-field label="Email" type="email" required="true" /]
[contact-field label="Comment" type="textarea" required="true" /]
[/contact-form]
[contact-field label="Name" type="name" required="true" /]
[contact-field label="Email" type="email" required="true" /]
[contact-field label="Comment" type="textarea" required="true" /]
[/contact-form]
Each field is wrapped in a [[contact-field /]] tag.
The available field attributes are as follows:
label Gives the field a descriptive label
type Available options include:
- text – Displays a regular single line text box
- textarea – Displays a multi-line text box
- radio – Displays radio options
- checkbox – Displays a single checkbox
- select – Displays a drop down with multiple options
- email – Displays a single line text box
- name – Displays a single line text box
- url – Displays a single line text box
required If you’d like the field to be required, add required=”true” if not, simply leave this out.
options Select and radio fields have a fourth option called “options”. This is a comment separated list of all the options available within the drop down or radio field. An example would be
[[contact-field label="Sex" type="radio" options="Female,Male" /]]
Additional Info
- Your email addresses are never shown in the form directly, and the sender never learns it unless you reply to the email.
- Any blog users with Editor or Administrator roles can see feedbacks.
- All contact form messages are filtered through Akismet, so the amount of spam you receive will be minimal, if not zero.
- Visitors can type anything into the name and email boxes, so it is easy to fake an identity. If a logged-in WordPress.com user sends you a message, the email will tell you that it was sent by a verified user and you can trust the name and email. As with anything online, know that anonymity is both a curse and a blessing.
- You can include any text or other allowed elements above or below the contact form.
- If you have Custom CSS, you can customize the look of the form.
- Each post, page, and text widget will only display one contact form. You can have multiple contact forms in the sidebar by using multiple text widgets.
- Self-hosted/installed WordPress(.org) users can enjoy the same functionality with the Jetpack plugin.
Please note that the contact form offers no security beyond that of a regular email, so it should never be used for sensitive information such as credit card numbers.

No comments:
Post a Comment